Exploring the PlayCanvas VR Starter Kit
These are my notes from a deep dive into the PlayCanvas VR Starter Kit. I spent some time going through this project template to learn how it works and to see if I can learn how to expand on it to build some VR features for my projects.
TL; DR: Most of this post is just my notes, taken while examining each object and script. I’ll conclude this article with my thoughts and what I want to build next.
What is it?
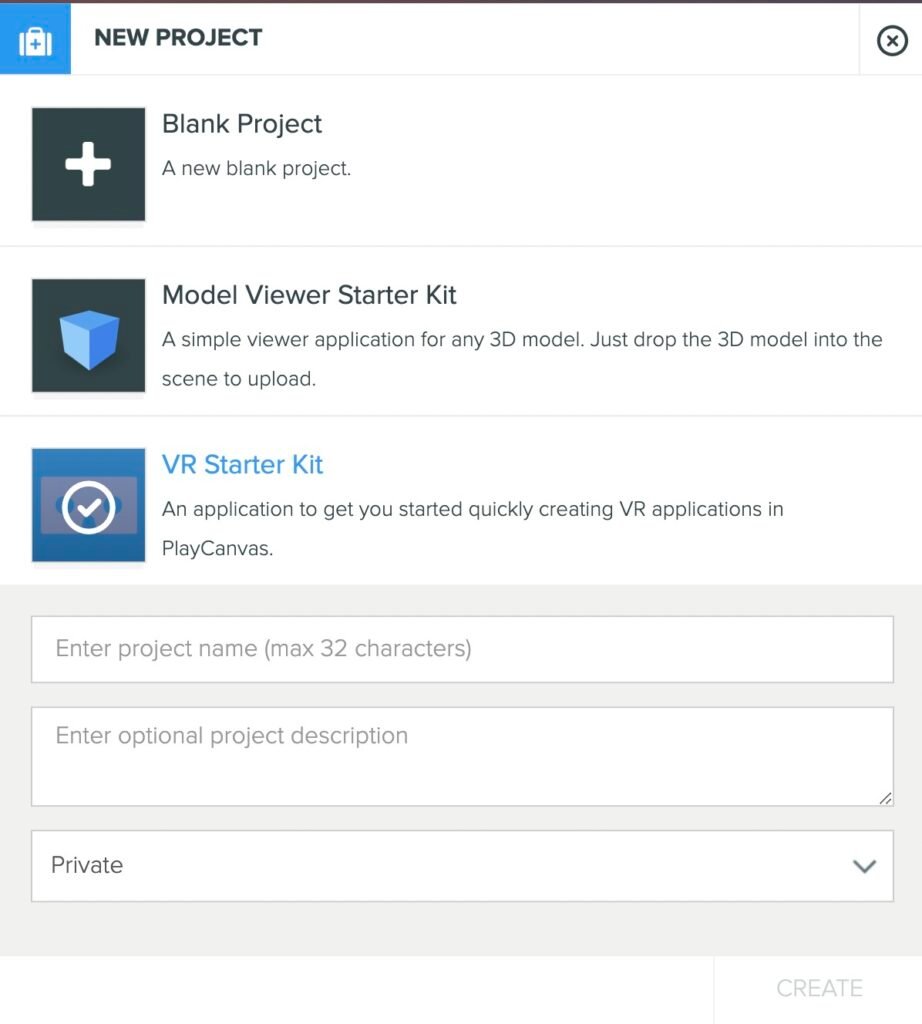
When you start a new project in PlayCanvas, you are presented with three options.
- Blank Project – It’s all in the name
- Model Viewer Starter Kit – I’ll explore this some other time
- VR Starter Kit – “An application to get you started quickly creating VR applications in PlayCanvas.”

Scene Graph Notes
- Root (scripts attached:
vr,controllers,objectPicker)- Controller: a deactivated entity that is used to create and attach the motion controllers to the player’s VR session.
controllerscript attached- Child entity: model
- Child entity: pointer
- Camera Parent: This is the object that we would target when building movement or teleportation features. Trying to move the camera directly is not advised.
camera-controllerscript attached, with a reference to the camera- Child entity: camera
- 2D Screen: A simple UI to draw outside of immersive VR Mode. This displays a button if VR is available on the device and browser.
- Note: this UI and its child entities do not contain any scripts. Instead, the script is attached to the Root with references to these buttons.
- Controller: a deactivated entity that is used to create and attach the motion controllers to the player’s VR session.
Scripting Notes
vrscript: Contains the logic to check for the availability of VR features, handle permissions, etc. If all checks pass, thesessionStartfunction will attach device orientation to the VR camera. This is attached to the scene root entity; this has a couple of vital references to other entities.- Button attribute: the UI button that the user can click on to enter VR mode
- Camera: the camera found in the Camera Parent object described in the Scene Graph section.
controllersscript: Listens to an event when controllers (hardware) are added to the XR session and attaches entities to them.controllerscript: This script handles incoming input from the XR input sources. It adds features for laser pointer picking, working with theobjectPickerscript. It contains some references to teleportation, but this project starter kit does not make use of it. This script calls movement functions on thecamera-controllerscript. This script also attaches a controller model from the to the input source.objectPickerscript: This script contains a pick function that is called by thecontrollerscript. It is not clear to me why this is in a separate file and why it is attached to the scene root.camera-controllerscript: Contains a list of attributes used to configure the movement system.
Areas that I want to explore further
- Perform actions / events in a scene with pressing a button.
- I’ll start with the Quest 2 controllers that I use every day, but I’ll want to make VR experiences that work for a wide array of controllers.
- Is there an abstraction layer for common input? This is something that Babylon JS does well, providing a small number of the most common VR controller intensions, and mapping them to a wide array of controller types. PlayCanvas doesn’t seem to have anything like this, but the documentation does mention a method for getting this data from the webxr-input-profiles.
- Controller / Hand Object Interaction & Grabbing
- Simple selection-style events when a controller collides with a target. Example: activating a switch.
- Grab an object. Attach an object to the controller when the controller collides with a target. Physics optional.
- Movement controls: The VR Starter Kit has this built in. Expand on this as needed.
- Teleport controls: There are some examples of teleporting in the Tutorials section.
- The
controllerscript has references to some teleportation features. These are not working in the starter kit project, but this may be a good place to start.
- The
- Near menu: bring up a small menu near the player to adjust settings.
- Allow the user to select their preferred VR locomotion scheme, much like Canvatorium Lab 026.
After spending some time with this, it appears to me that this project is a few years old. Almost everything is functional, but PlayCanvas has introduced features such as Templates that could influence how a developer would build this from the ground up today. I also found reference to a teleport system, but it is not clear from the code or components how to make use of it.
Thinking about how I would rebuild this today–with the limited knowledge that I have of PlayCanvas considered–I would start by removing any scripts that need to be attached to the scene root entity. Most projects that I want to build involve multiple scenes, and I would want a way to quickly iterate on VR camera and controller features from any one of these scenes. I think I would break these into a handful of entities that I could turn into Templates.
- VR Session management
- UI / non-VR menu
- Player Rig / Camera
- Teleport system
- Movement system
- Controllers / Hands
- Laser pointer features
- Controller / hand non-physics interactions
- Controller / hand physical interactions
It’s worth mentioning that all the VR demos that I’ve shared so far since I started working with PlayCanvas have made use of a set of templates provided by the WebXRPress project. This article will get you started in a few moments.
