Interactive 3D Graphics for FileMaker Developers – Blog Post Edition
Create rich, engaging, and interactive 3D graphics in a web viewer
This blog post was adapted from a presentation I gave at Pause Summer Camp 2023.
TLDR: I created five small demos using the FileMaker Web Viewer and Babylon JS. Continue on to learn why I think FileMaker developers should choose Babylon JS for their 3D graphics. Download the demos here.
Why 3D?
Adding 3D development to your toolkit can help you build things that just are not possible using 2D graphics such as FileMaker layouts or HTML/CSS. Add new perspectives to your data with advanced data visualizations. Build interfaces and controls with a sense of space and direction. Get a head start developing for the coming age of Spatial Computing by learning some 3D concepts today.
3D on the Web
I’ve been working with 3D graphics since 2017 when I first got interested in VR development. I’m not going to cover the entire 3D landscape, instead I’ll just focus on a few WebGL powered engines. Why not just work in WebGL directly? Because it’s very difficult. Writing shader code and performing matrix math is a lot more to learn and maintain than a JavaScript library.
There are a ton of 3D graphics libraries out there, but I’m going to cover the two most important ones, with callouts to a few others.
Three JS
Three JS is by far the most widely used library in this space. It’s incredibly popular and is used by a wide array of people and companies. It’s a general-purpose 3D graphics library useful in its own right, but it also serves as the foundation of many products and tools.
Three JS can be a bit low-level compared to the other items on this list, but it’s still reasonably understandable to new developers. It can be easy to learn the basics, but quite hard to master.
- Three JS
- Notable things built on top of Three JS
- A-Frame: entity component system for making 3D, VR, and AR
- React Three Fiber: a React JS renderer for Three JS. R3F is at the center of a huge collection of components and libraries.
- Spline: a powerful 3D modeling tool
Babylon JS
Babylon.js is a powerful and simple engine. It’s used to create games, product configurations, data vis tools, VR apps, and generally anything you can imagine in 3D.
- Babylon JS
- Babylon JS documentation – Extensive documentation and tutorials
- Babylon JS Playground – Get started with your own scenes
- Babylon JS Forum Active community with many of the core team posting there daily. (You can find me there as @vrhermit)
- Babylon JS Community Demos – Get inspired and see what others are doing with Babylon JS
Note: PlayCanvas is also a great option if you want to publish 3D on the web. It is an open-source engine with a proprietary editor and publishing service. I’m not currently using it in a Web Viewer due to some technical issues with the Web Viewer that I’ll detail elsewhere.
What should I pick?
I use Babylon JS for most of my 3D projects and I think FileMaker developers should consider it.
The way Babylon JS is structured makes a bit more sense to me. It also has a lot more built-in features compared to Three JS. Frankly, you can do more with Babylon JS with less code and less time spent learning up front. That’s not to say Babylon JS is easy to master, but it is a lot easier to build something useful in a short time.
Another major reason I think FileMaker developers should consider Babylon JS is their commitment to backwards compatibility. Read more about it here. Every single scene I’ve ever made with Babylon JS still works today. That can’t be said about most of my work in Three JS and A-Frame. From time to time, Three JS will ship an updated version with breaking changes. It doesn’t happen often, but if you wait a dozen or more versions before updating, it can be very difficult to get your scenes working again. It’s worth mentioning that working in A-Frame or R3F can shield you from situations like this as those libraries do the hard work of updating how they interact with Three JS.
Demos
Ok, enough background. I created five demo projects using Babylon JS and a FileMaker Web Viewer. I don’t go into detail about two-way communication between FileMaker and the web context. If you want to learn more about that, I suggest you join the community at JS in FM.
- You can find the source code for the demos on GitHub. Check out the readme files for details on how to run each demo.
- This FileMaker file contains completed versions of each demo. (click “download raw file” to download it or clone the whole repo).
- Leave a comment below or find me @vrhermit in most places if you have any questions.
FMPlayground
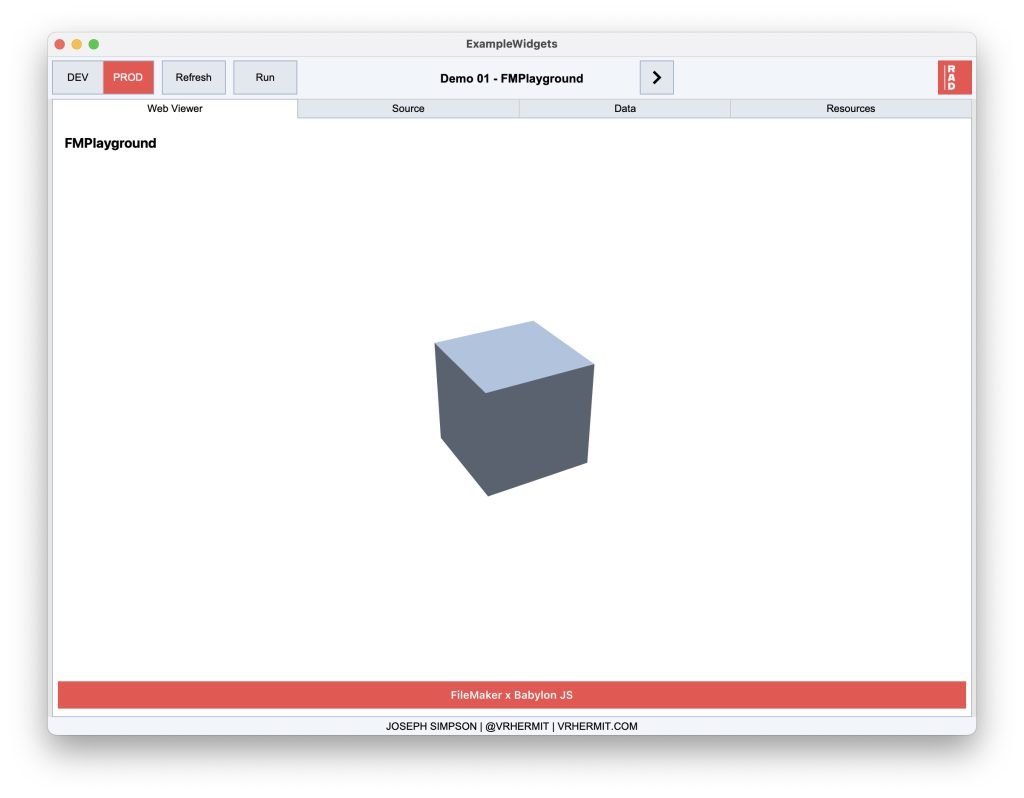
This is a basic scene with a box and a text label, intended as a starting point. It loads a basic Babylon JS scene containing a camera, lights, and a box. A script in FileMaker can toggle the color of the box.
Let’s break this down. The project contains a simple HTML file with a canvas element and a script tag. When the dom loads, the HTML will render and execute the JS.
<body>
  <canvas id="bjsCanvas"></canvas>
  <script type="module" src="/main.js"></script>
</body>
In the JS code, we get a reference to the canvas and use it to create a Babylon JS engine. Then we use the engine to create a scene. Everything else we do is “inside the scene”.
  // get the canvas from the DOM
  const canvas = document.getElementById("bjsCanvas");

  // Create the engine and scene
  const engine = new BABYLON.Engine(canvas, true);
  const scene = new BABYLON.Scene(engine);
Next, let’s add a few things to the scene.
- A camera and a light source will let is see in the 3D space
- A material is used to define how a 3D mesh will render. You can think of this as the surface layer of the mesh.
- A mesh contains the geometry data used to draw a box. It also serves as a top-level object that we can position, rotate, scale, etc. We could even add child objects to it, add interactions, sounds, physics, etc. For now, we will just create a cube.
  // Create a camera
  const camera = new BABYLON.ArcRotateCamera("Camera", 0, 0, 0, BABYLON.Vector3.Zero(), scene);
  camera.position = new BABYLON.Vector3(0, 3, -5);
  camera.attachControl(canvas, true); // Attach the camera controls to the canvas
  camera.setTarget(BABYLON.Vector3.Zero()); // Target the camera to scene origin. You could also target a mesh, or something else
  camera.useAutoRotationBehavior = true; // Remove this to stop the auto rotation
  camera.lowerRadiusLimit = 2;
  camera.upperRadiusLimit = 10;

  // // Create a basic light
  const light = new BABYLON.HemisphericLight("light1", new BABYLON.Vector3(0, 1, 0), scene);
  light.intensity = 1.2;

  // Create a material and a cube
  const material = new BABYLON.StandardMaterial("box-mat", scene);
  material.alpha = 1;
  material.diffuseColor = BABYLON.Color3.FromHexString("#94a3b8");

  const cube = BABYLON.MeshBuilder.CreateBox("box", {
    height: 1,
    width: 1,
    depth: 1
  });
  cube. Material = material;
These are foundational concepts for 3D graphics on the web. Regardless of what you are building you will always need these ideas.
- An HTML canvas on which we render our content
- An engine instance that controls rendering, game loops, etc.
- A scene that contains our content
- A camera with which to view the world
- Lights (unless you are using unlit materials or shaders)
- Meshes or other 3D object types (lines, point clouds, particles, etc)
This demo also introduces the Babylon JS GUI, which is a great way to add menus, labels, and other 2D data layered on top of the 3D scene. In this case I’m just adding a text label to the top left.
The readme for this demo also contains some notes about tree-shaking.

BoxChart
The next demo is a multi-series bar chart based on the Categories export from FMComparison. To be honest, this isn’t a great chart. It would need a lot of work to make it as useful as most 2D bar charts. I put this demo together in less than 20 minutes while listening in on an Office Hours discussion on an unrelated topic. I’m including it here just to show the possibility of adding animations and camera movements to a chart.
The chart is built with simple box meshes and materials color-coded to match the colors we use in FMComparison. The boxes are scaled along one axis based on the value of an object.
For example, this data:
  "Fields": {
      "DisplayName": "Fields",
      "CreationCount": 93,
      "DeletionCount": 25,
      "ModificatonCount": 1559
    },
will be transformed into these graphics:

Timeline
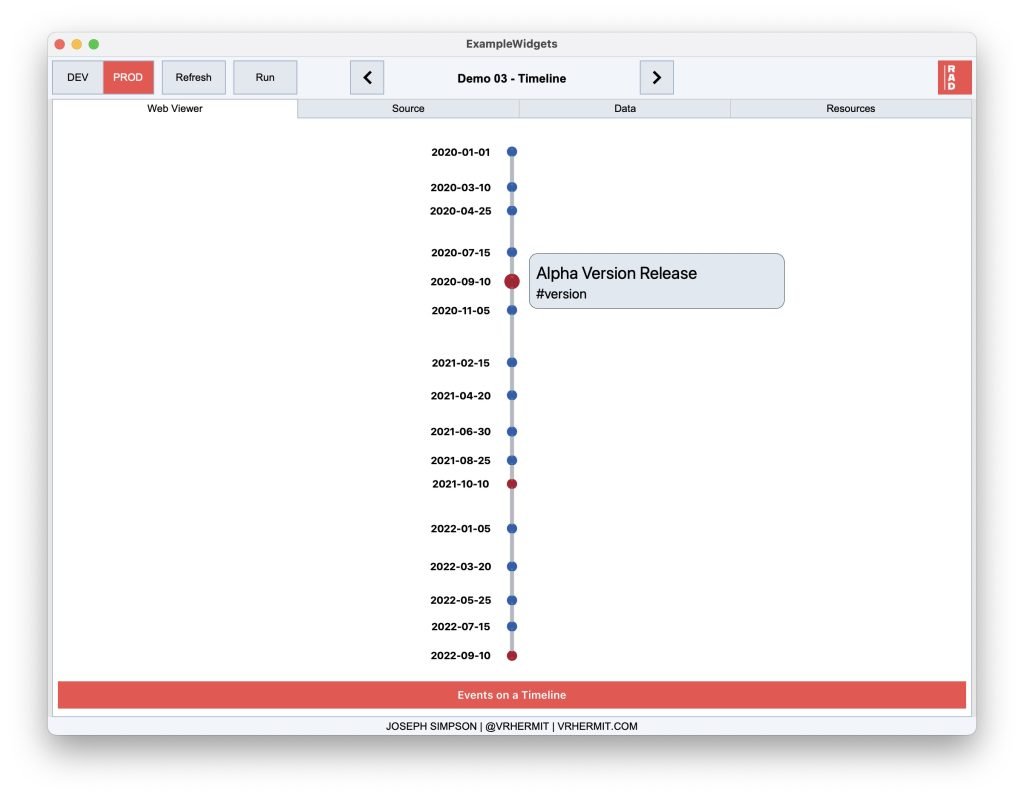
The next demo is an orthographic scene with a timeline of events. Sometimes it can be useful to view our 3D content from a fixed point of view. In this demo I created a very simple timeline. The length of the line is computed based on the first and last dates from the data. We loop over the data and add spheres for each object. We also created some 2D GUI that can be anchored on each node of the timeline. Clicking on a node will show the GUI with a title and subtitle.

Map3D
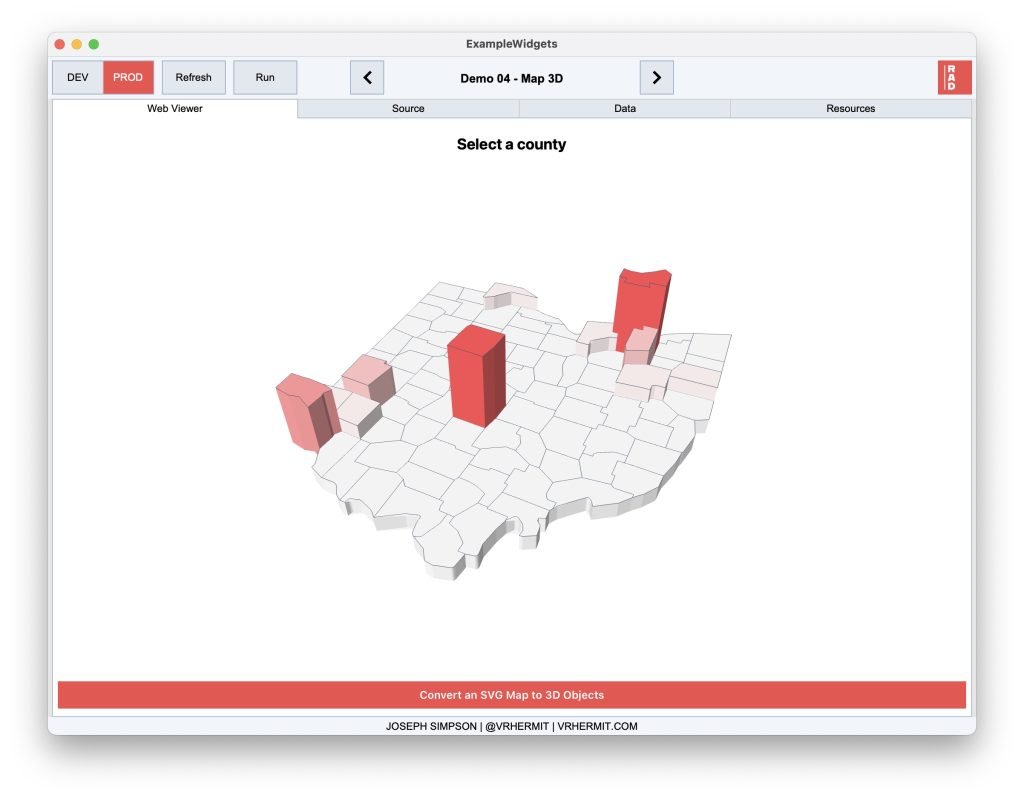
In this demo, we convert an SVG map to BabylonJS meshes, then color each segment to create a 3D choropleth.
The hardest part of this demo was converting the path data from SVGs into 3D vectors that we can use in Babylon JS. With that conversion in place, we can use these vectors to extrude 3D shapes from the outline of each county. We use the data related to each county to determine the height of the extruded shape.
This demo also shows how to animate some camera movements. Click on a county to focus on it. The camera will move to the county and the controls will orbit around it until you click on another county or press esc.

Layers3D
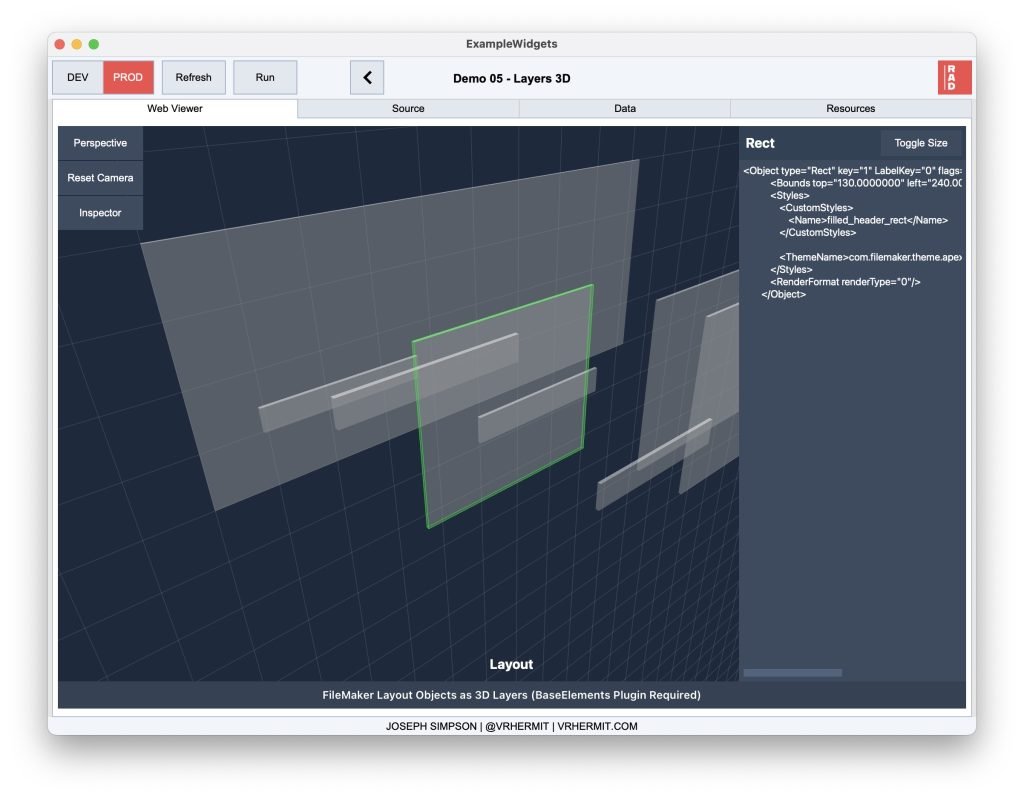
The last demo is my favorite. This will convert FileMaker layout objects (using clipboard data) into 3D meshes arranged in layers based on their containment and z-order. This proof of concept impresses everyone who sees it. It may even end up in a beloved developer tool at some point (wink wink), but no promises.
The content of this demo is the 3D objects that we created from the clipboard data. We parse the clipboard XML and calculate a z position for each object based on its position on the layout.
I want to draw your attention to the 2D GUI controls for the scene. We can use 2D GUI and 3D content to create entire applications, not just data visualization. For example, the menu on the left side controls the camera and toggles and inspector, while the UI on the right will render additional details about the selected object.

That wraps up the demos. If you have any questions or want to learn more about 3D, Babylon JS, or Spatial Computing, please get in touch.
