Babylon JS Day 10: Terrarium
This week for my Friday Project I decided that I wanted to build a simple Terrarium with some low poly assets. My main objectives was to learn about composing a scene in Babylon JS. I started with the table/base that I made on Day 8 and what I learned about asset loading on Day 9.
I’m almost embarrassed to admit that I spent most of the day working with the asset files and trying to get them loaded into the scene. I ran into some issue with obj files where sometimes the related mtl file would just not show up in the scene. Eventually I decided to convert the models to glb file instead. Lucky for me I had a copy of the Blender project for each file, so it was just a matter of opening the Blender project and exporting the model and material as a glb file. I ended up with 13 models that I added to the scene using the assetsManager.
// Asset loading example
 var assetsManager = new BABYLON.AssetsManager(scene);

  const path = "../assets/models/";

  // Trees
  assetsManager.addMeshTask("mesh task", "", path, "Tree1.glb").onSuccess = function (task) {
    task.loadedMeshes[0].position = new BABYLON.Vector3(5, 0, 6);
    task.loadedMeshes[0].rotation = new BABYLON.Vector3(0, 30, 0);

    task.loadedMeshes[0].name = "Tree1";
  };

// Many more files loaded....

assetsManager.load();
One interesting side note: files loaded this way are not named in the scene graph, but I found out that I can set the name property of the loaded mesh. This made it easier to work with these models in the Babylon JS inspector.
I wanted to use some of the models more than once, so I learned how to use the clone() method on a mesh. I created these clones right in the .onSuccess call after loading an asset. For example, I wanted a small stand of trees using the Tree3 model. I used the one imported in the loadedMeshes results array as the first instance in the scene, then cloned it twice for the other instances.
assetsManager.addMeshTask("mesh task", "", path, "Tree3.glb").onSuccess = function (task) {
    task.loadedMeshes[0].position = new BABYLON.Vector3(6.5, 0, -4);
    task.loadedMeshes[0].name = "Tree3";

    tree3Clone1 = task.loadedMeshes[0].clone("Tree3Clone1");
    tree3Clone1.position = new BABYLON.Vector3(5, 0, -1);
    tree3Clone1.rotation = new BABYLON.Vector3(0, -70, 0);
    tree3Clone1.scaling = new BABYLON.Vector3(1.2, 1.2, 1.2);

    tree3Clone2 = task.loadedMeshes[0].clone("Tree3Clone2");
    tree3Clone2.position = new BABYLON.Vector3(6.5, 0, -1.5);
    tree3Clone2.rotation = new BABYLON.Vector3(0, 50, 0);
    tree3Clone2.scaling = new BABYLON.Vector3(0.9, 1.2, 0.9);
  };
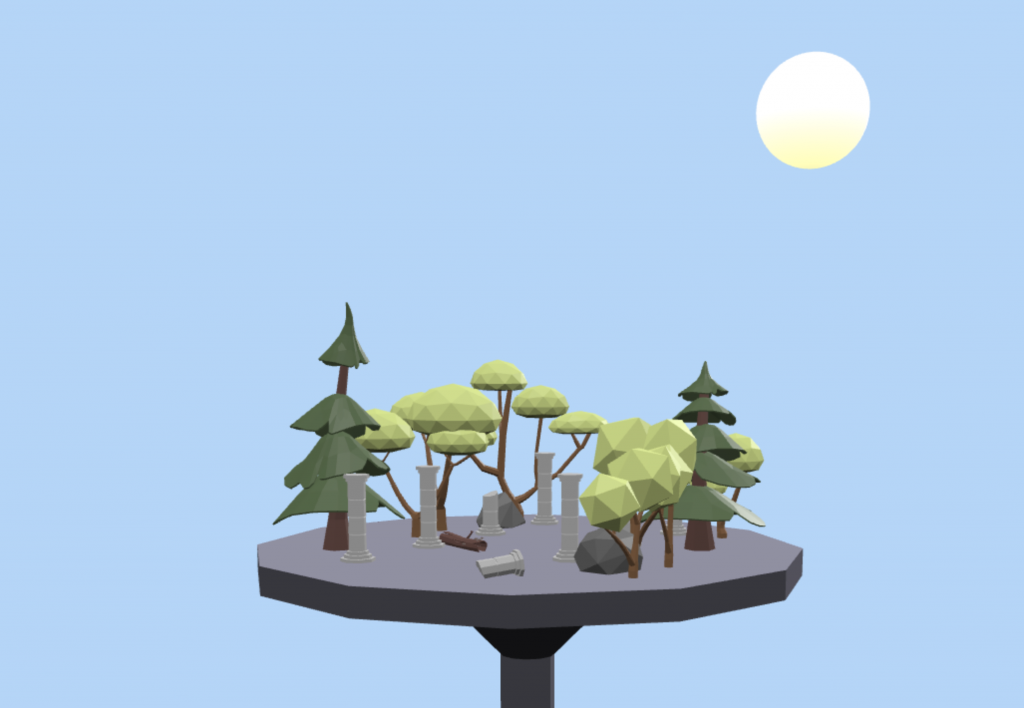
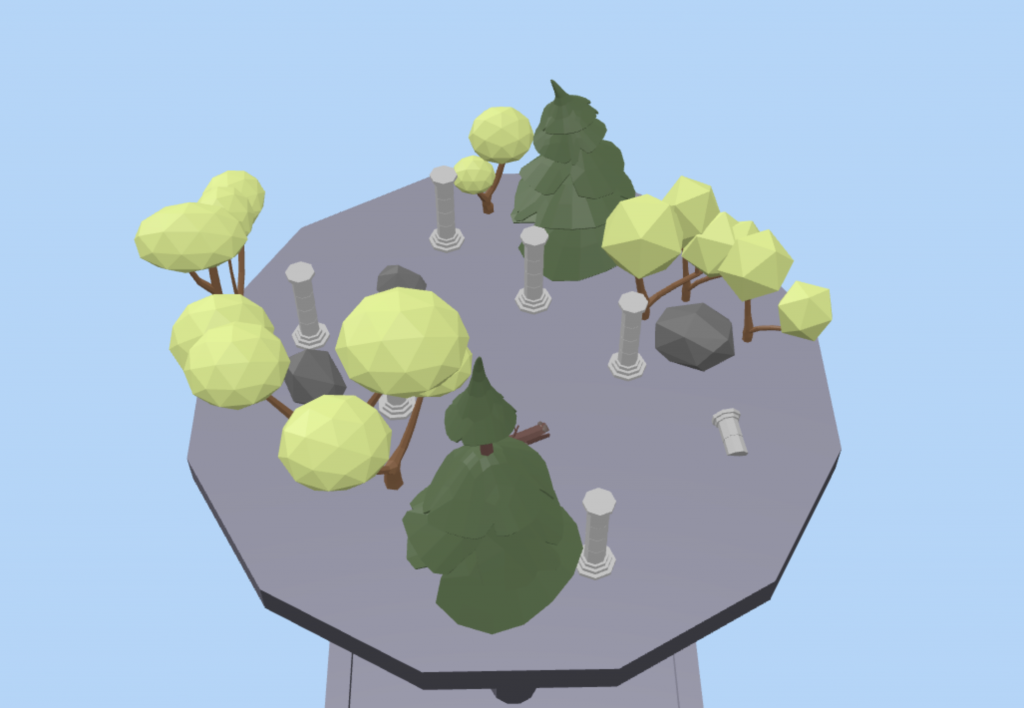
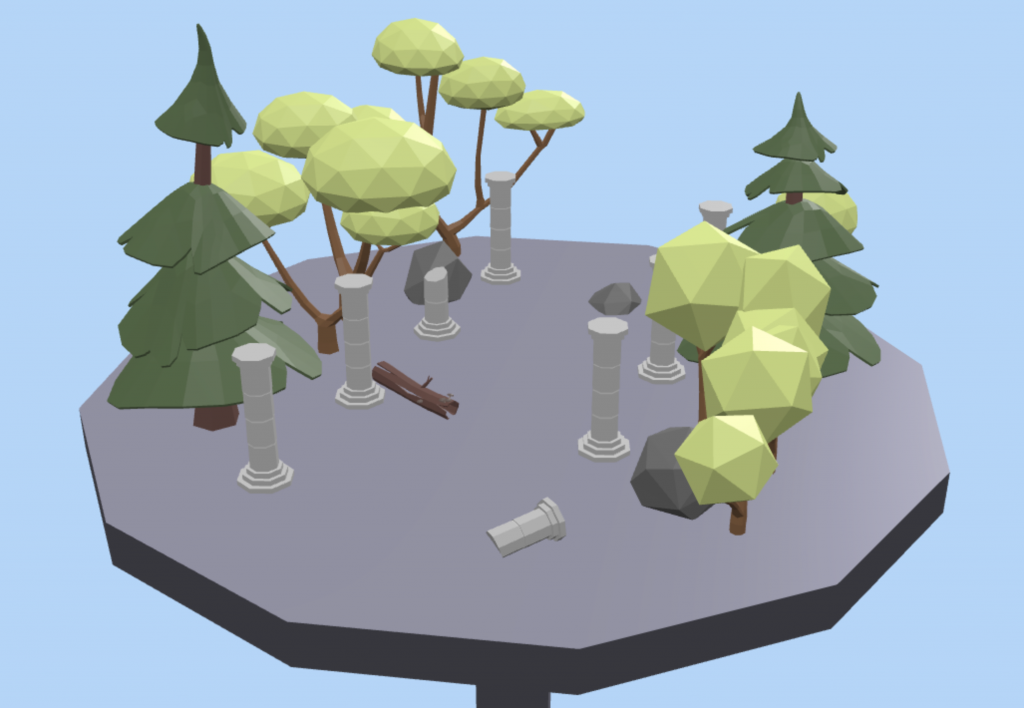
I spent more time than I care to admit just deciding where on this small table to place everything. This is what I ended up with for now.
One small touch at the end of the day was adding some animations to the camera. I found an interesting Playground on the Babylon JS forum that gave me some ideas using a timeouts to move the camera around the scene. When the scene loads, these animations will play out over a period of 12 seconds, mainly to demonstrate that you can move the camera around the scene.
When I started out this morning, my plans included many more features. I wanted to add some animals that would move around the scene. I also intended to create a soundtrack and some simple sound effects. Don’t get me started about clouds… Not to mention the dome that is supposed to cover the Terrarium. I just ran out of time. Even with this Friday Project complete, I may keep working on this scene. It could make an interesting place to try new concepts as I learn them.
Try the scene out for yourself here.


