Using Kadence Elements to move the placement of Tags on my blog posts
Kadence Elements is a superpower for WordPress. Create dynamic templates that you can inject anywhere on a site using the Kadence Theme.
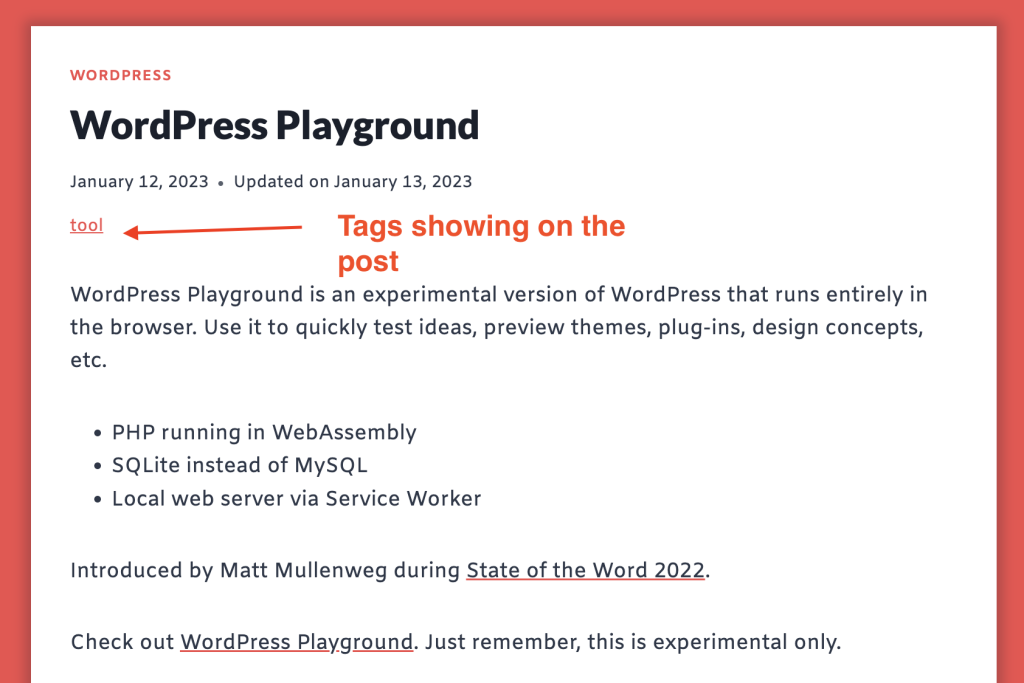
This week I was working on this site (yeah, this one, radicalappdev.com) and wanted to show the post tags along with the metadata above my post content. By default, the Kadence Theme would place these at the end of post, but by adjusting the theme settings and creating a new Element I was able to move tags to where I want them.
Here are the steps I took
- In the WordPress Customizer, go to
Post/Page LayoutthenSingle Post Layout. Toggle off the option called “Show Post Tags?”. - Creating a new Kadence Element. From the Admin area, navigate to
Appearance > Kadence > Elements.- Create a new element. I used the Default type, and I named my element “Single Post Tag”.
- Use the Block Editor to create content for the element. I used the Tags block, which will show tags for the current post based on where this element is rendered.
- Click on the Elements option in the sidebar
- Placement: Use this dropdown to determine where in the page/post structure you want to place the element. I set mine to “After Inner Title Area”.
- Display > Show On: Use these settings to determine which posts or pages should render the element. I set mine to “Single Posts”
- Publish the Element and navigate to a blog post. You should now have tags showing below the other metadata in the title area.
This is a simple example of Kadence Elements. You could use this feature to inject dynamic content into pages or posts, query by taxonomy, and even schedule an element for a set period of time.
Is there something you want to do with Kadence Elements? Have you used it to solve an interesting problem? Let me know in the comments.


